Documents
REWOO Scope includes multiple functionalities for handling your documents. This chapter describes the various ways of storing and using documents in REWOO Scope.
File Box Types
The are multiple ways of adding documents in REWOO Scope. The most common way is to upload files using file boxes on the datasheets. There are different tpes of file boxes depending on the use case of your solition.
- FileLinks - A file box which can include any filetype with an unlimited amount of files. There a three versions:
- The regular file box is used in most cases, covering basic file handling features like upload, edit, view and download.
- The extended file box offers additional functionality like renaming, file lock and file replace.
- In cases you want to show images directly on the datasheet you can use the preview mode. In contrast to the image file box, the preview mode allows to handle multiple files.
- EmailFiles - File box containing emails.
- Image - File box for a single image file which will directly be shown on the form.
- SpreadsheetFile - File box for a single Excel file which can be accessed via the EXCEL formular.
Upload Files
Depending on the file box type the upload of a file varies. In all cases it is possible to upload multiple files at once by just selecting multiple files.
Upload via drag & drop
All file box types support the upload via drag & drop. To upload a file, drag it from your file explorer to the corresponding file box on the datasheet. As soon as the system recognizes the file the datasheet can be saved to start the upload process.
Drag & drop file upload is limited by files size, depending on the browser you are using. In most cases, it should be possible to upload files smaller than 100 MB.
Upload via Dialog
Each file box type offers an upload by using a default Windows file dialog. Clicking on the upload icon opens the Windows dialog to select the file. As soon as the file was selected and the dialog closed, the datasheet can be saved to upload the file(s).
WebDAV drive
A REWOO Scope solution can be added as network drive using webDAV. After adding a REWOO Scope solution as network drive you can access all documents within the REWOO Scope solution via your file browser. The file structure is similar to the element structure within REWOO Scope. Forms and file boxes are displayed as folders within the file browser.
In some cases errors occur adding a network drive within Windows Explorer. In this case add the drive with the following steps:
Open Windows command line and run the following command:
net use [drive letter] [server address]/[rewoo instance name]/webdav
Example
net use x https://mydomain.de/rewoo/webdav
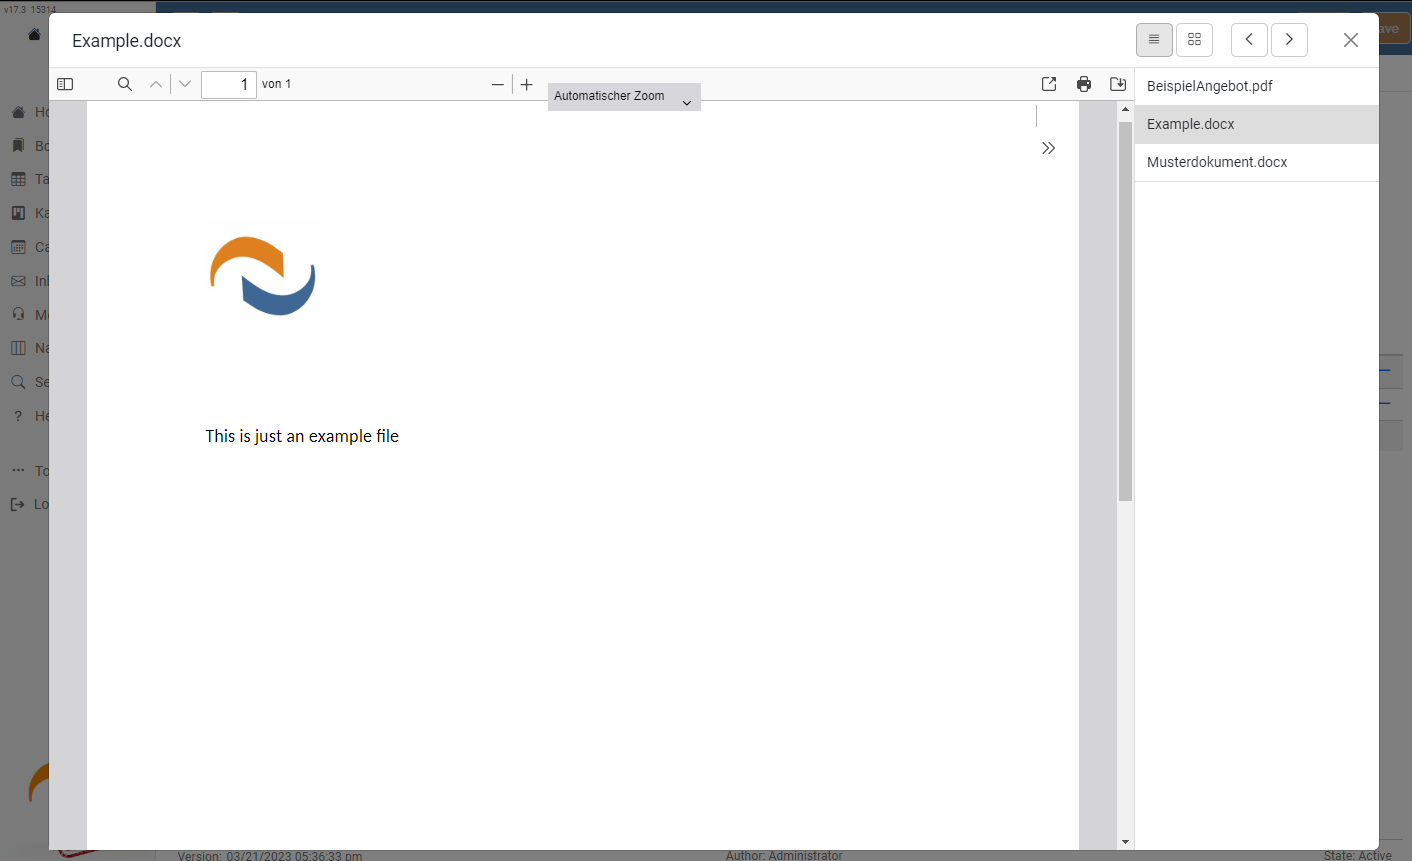
Document view
REWOO Scope includes a view for a wide variety of document formats. To open the view just click on a file within a file box.
Edit documents
Open and edit in MS Office
Office files (e.g Word, Excel) saved in REWOO Scope can be opened and edited directly in MS Office (requires at least MS Office 2010 or later). Savin in MS Office automatically uploads the new document version in to REWOO Scope.
To open an office file for editing just click on the pen icon next to the file name.
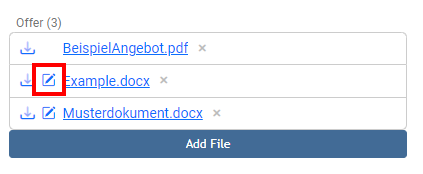
Image editing
REWOO Scope includes an image editor which allows you to edit images directly within REWOO Scope without needing additional software. If you edit and save an image REWOO Scope automatically creates a new version of the image file. The old version will still be accessible via the history feature. Edited images will automatically be saved in jpeg file format.
To open the image editor click on the edit icon in the file box.
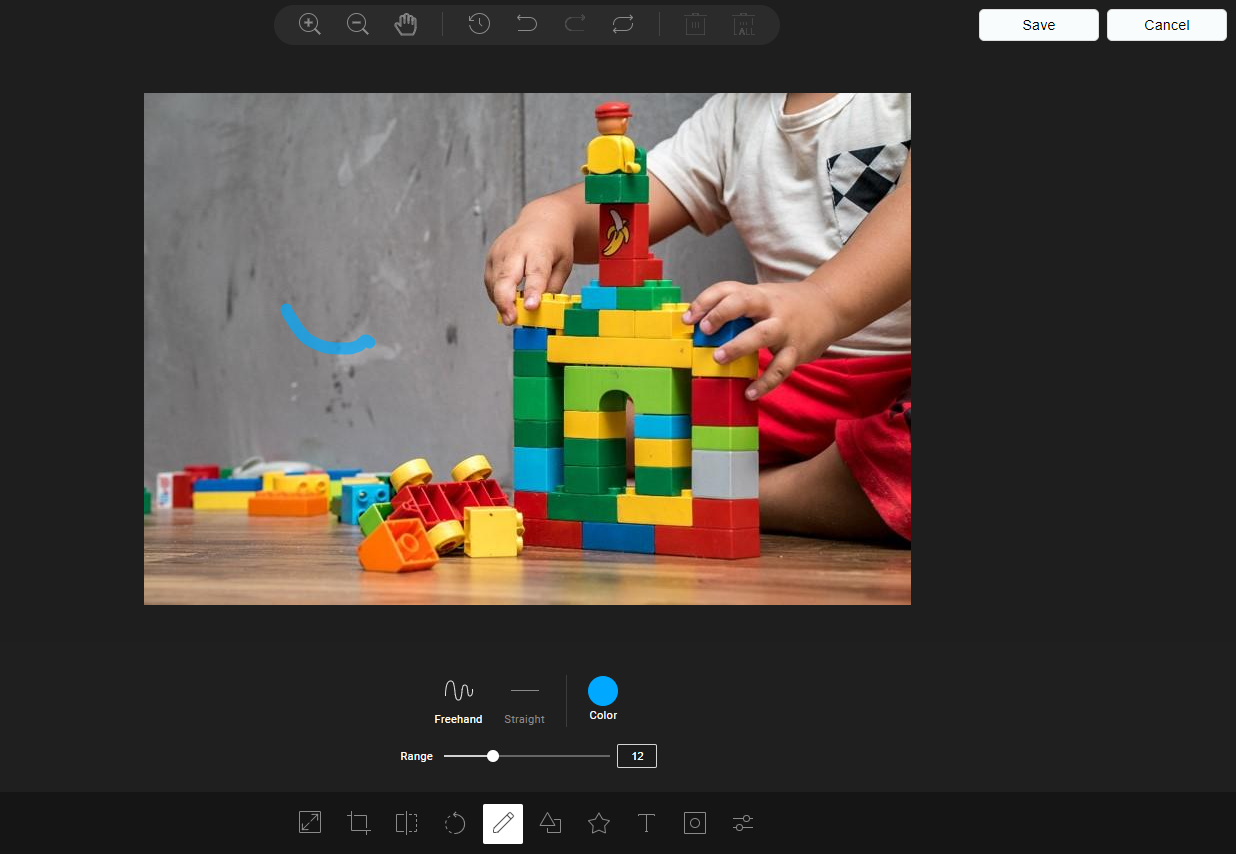
Image editor feature can be deactivated in the system configuration .
Extended file box
If a FileLinks field is set as extended it allows additional file operations.
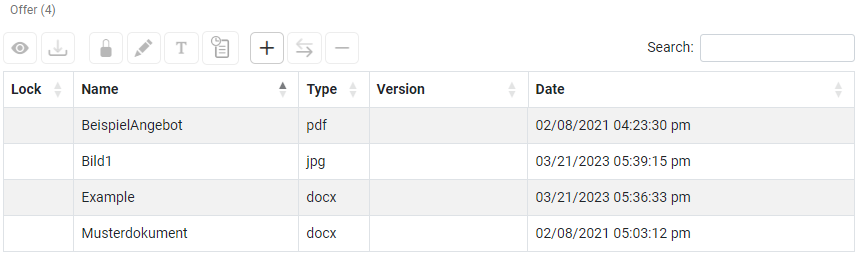
Additional features are:
- Lock - Lock files, so they can't be edited by other users
- Label - Add additional file information to the file and/or change the name of the file.
- Replace - Replace existing file.
Lock files
In some cases it might be helpful to lock a file for editing to prevent multiple users edit the same file at the same time.
To lock a file just select the file from the list and click on the check-out symbol.
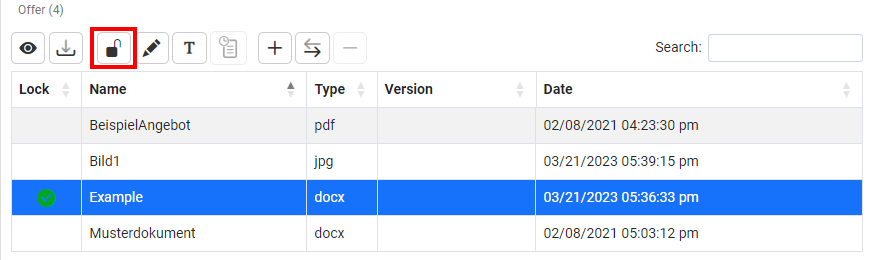
The file will be marked as locked. A green icon means it was locked by you. A red icon shows locks from other users. Administrators will see a yellow icon to show that the file is locked by another user, as administrator users can unlock files even if they are locked by other users.
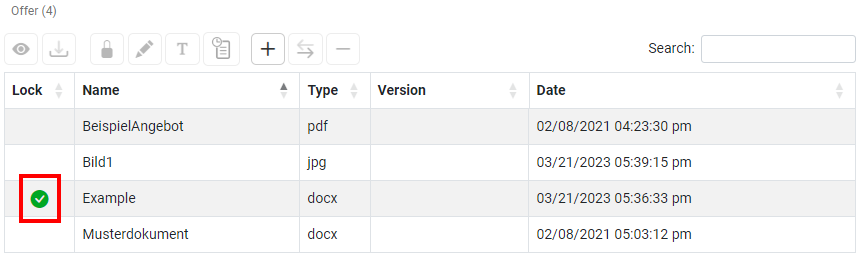
Locked files can only be edited by the user who locked them. To unlock a file just select the file and click on the check-in icon.
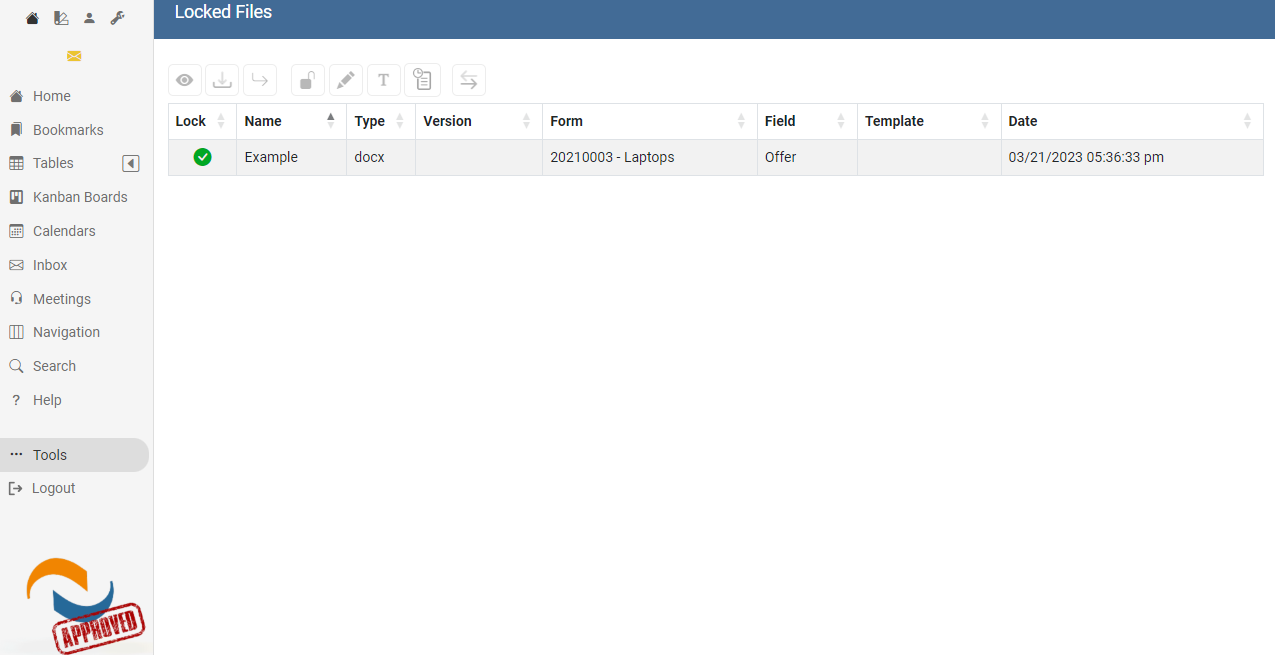
To get a list with all your locked files you can access the locked files menu from the "Tools" menu in the menu bar.
Label files
By clicking on the label icon you can add additional meta information (e.g. version no. remarks) to the file. You can also change the name of the file from within the label dialog.
Replace files
If you have edited a file which is stored in REWOO Scope externally by downloading the file you can replace the existing file with your local version. Instead of adding it as an additional file, replacing a file makes the system handle it as the original file. This means it will be shown in the version history as identical file and the historie stays in place.